IMPORTING CONTENT
OnSong
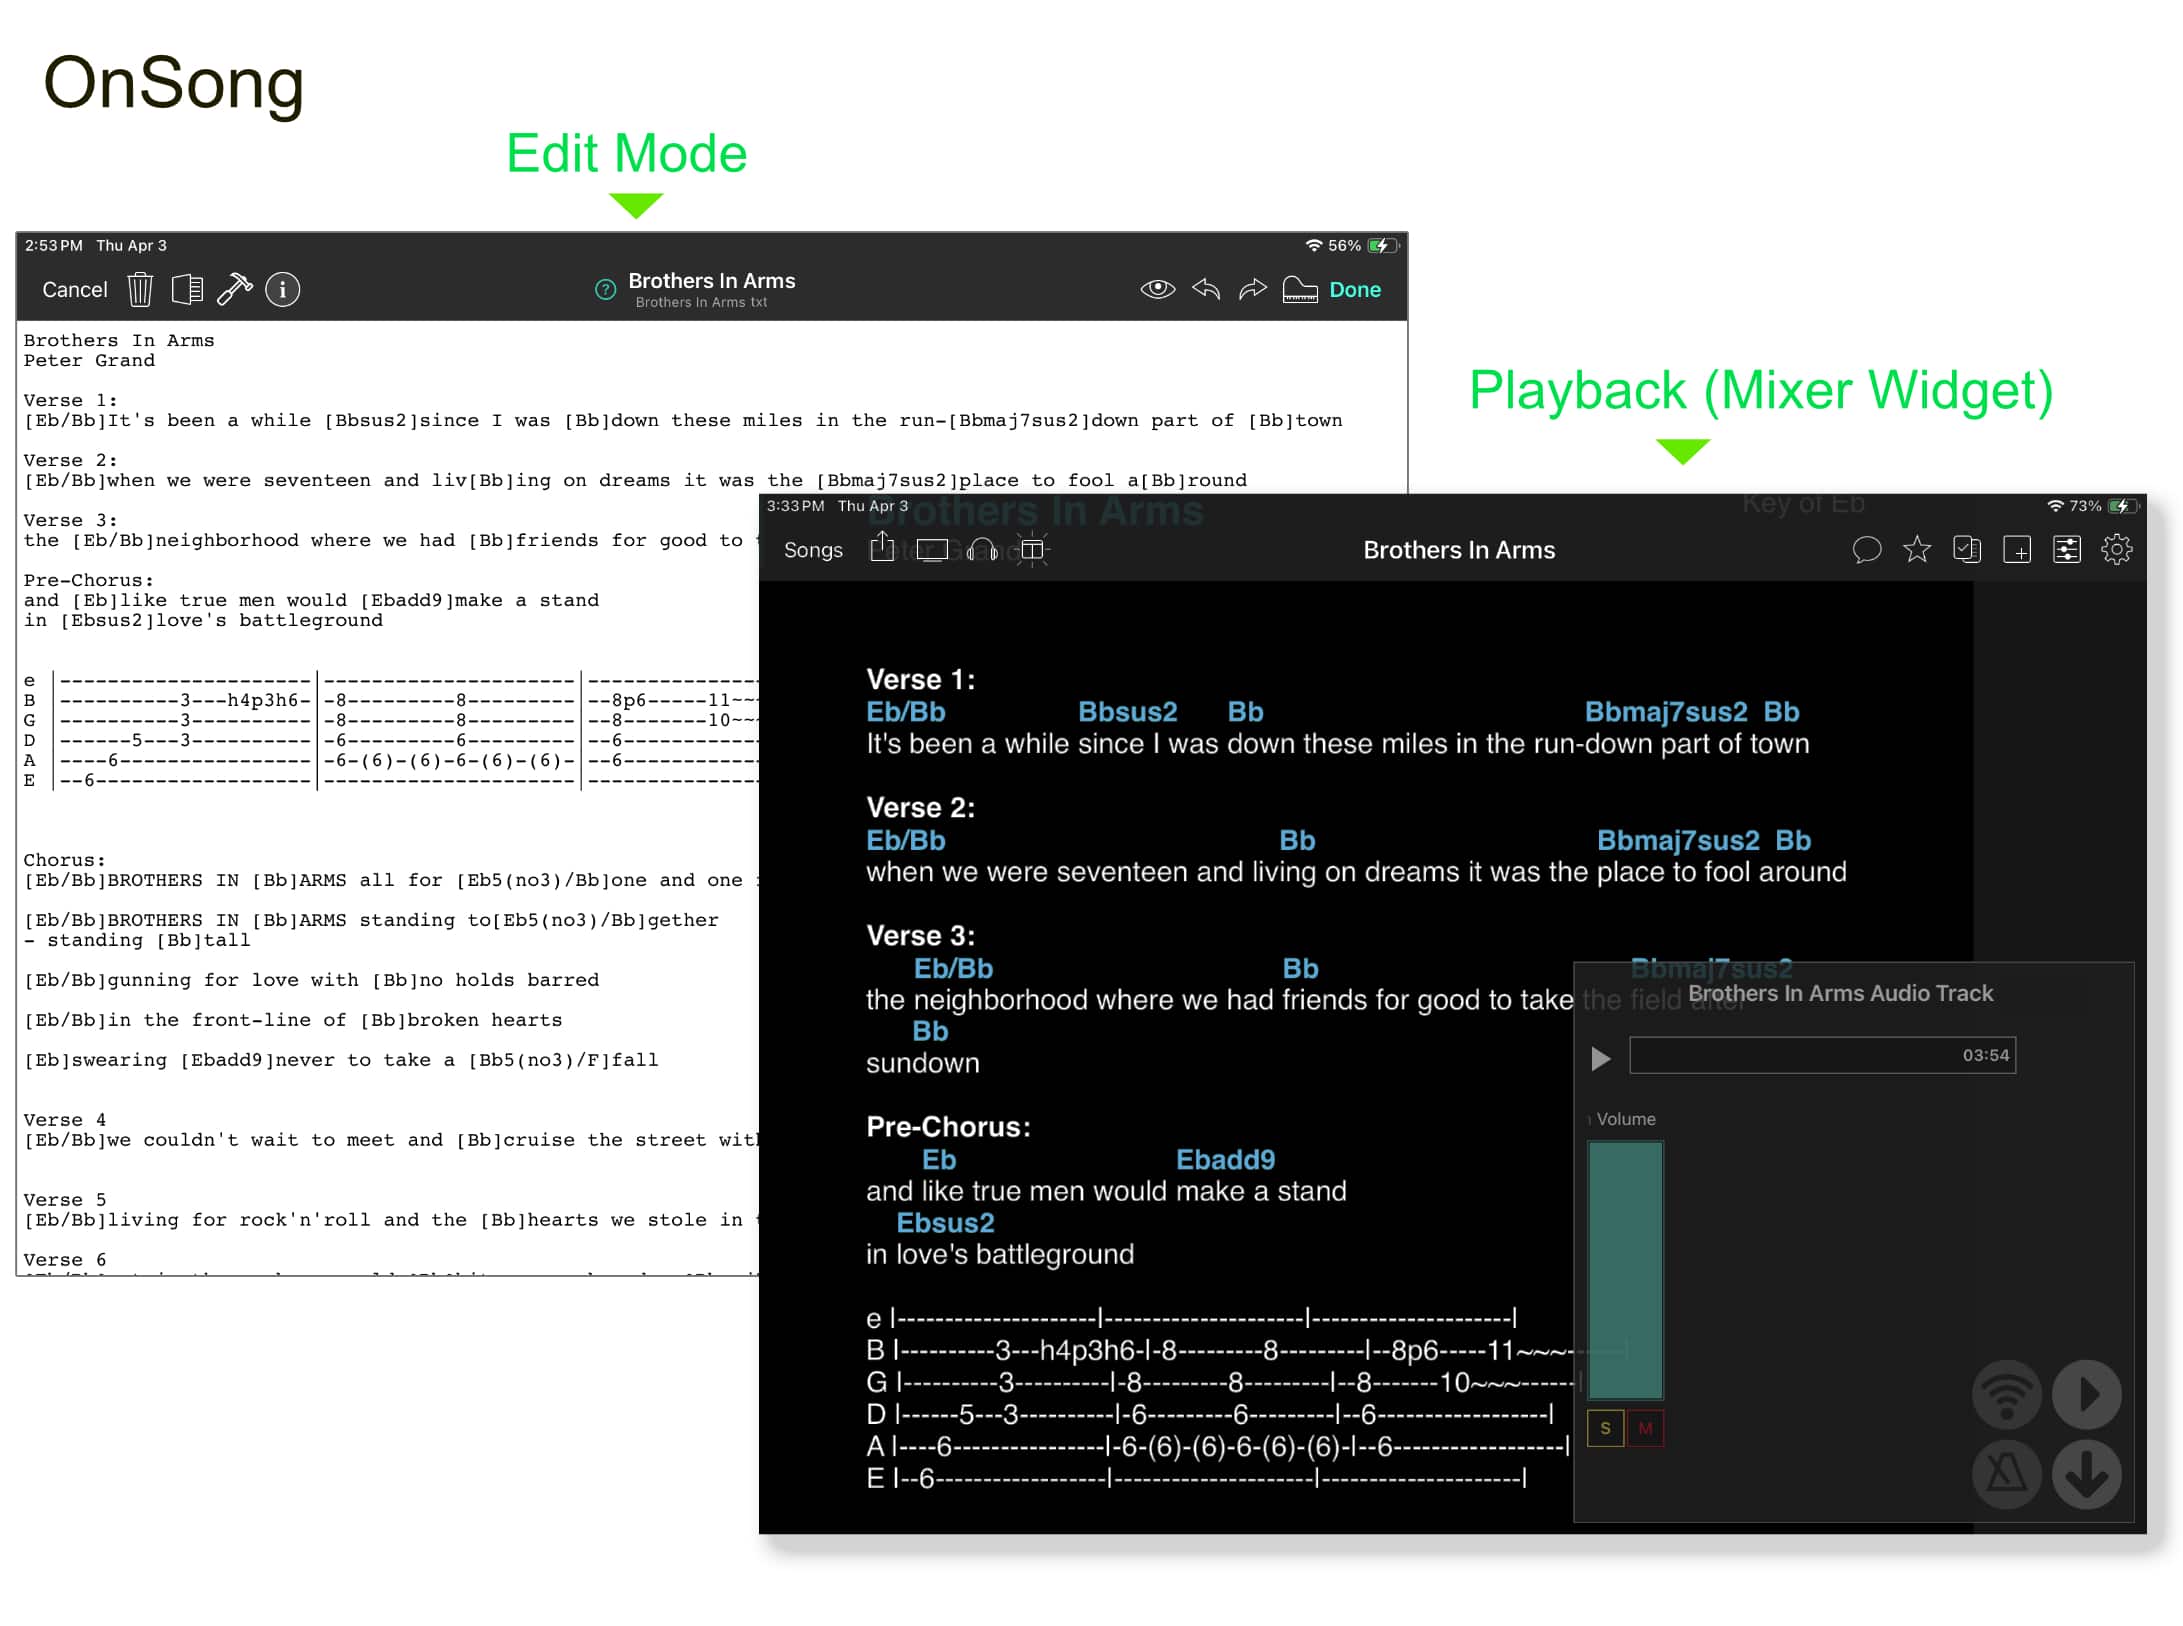
This chapter explains how to export your content from the OnSong app and import it into the Songs app. The Songs app is not affiliated with or endorsed by OnSong. Any use of third party trademarks, logos, brand names and products is only referential.
The Songs app can read OnSong files. The supported file formats include the native OnSong files and ChordPro or PDF files generated by OnSong. (See 'Avoid exporting files in the PDF format' below.)
The Songs app automatically adds chord diagrams to imported songs that include chords. You may disable this feature or specify the tuning/string instrument to be used to generate the diagrams in the Songs app’s settings/preferences.


|
To import songs tap/click on the inward pointing arrow in the upper left corner of the Songs app’s main window. |
If the library panel is not visible tap/click on the three lines in the upper left corner of the screen.

|
|
Choose 'Import File' to either… |
|
|
select an 'OnSong Backup' file and import the entire song catalog including all songs, sets, imported audio tracks, MIDI events and notes, |
|
|
or select and add a single song saved by OnSong in the ChordPro, the PDF format or its native text-based file format. |
See Text-Based Files and PDF Files to learn how added songs are transformed.
Importing 'OnSong Backup' Files
An 'OnSong Backup' file is the most convenient way to import your entire song catalog into the Songs app (including songs, sets, imported audio tracks, midi events and notes).
This requires the following steps:
Exporting an 'OnSong Backup' file from OnSong:
OnSong Pro/Standard/2020-2023
-
Tap/Click on the share icon in the upper left corner.
-
Select 'Export' in the pop-up list.
-
Select 'OnSong Backup' as the export format.
-
Tap/Click on the wrench icon (bottom right corner) and select 'As a single file' in the 'Output Options' pop-up menu.
-
Tap/Click on 'Export' (top right corner).
-
Save the 'OnSong Backup' file in a directory of your choice (e.g. iCloud Drive).
-
OnSong Pro/Standard: Add the '.backup' file extension to the exported file (OnSong 2020-2023 adds the '.backup' file extension automatically).
Importing the 'OnSong Backup' file into the Songs app:
|
|
Choose 'Import File' in the Songs app’s import menu and select the 'OnSong Backup' file. |
A pop-up dialog appears with two import options:
-
Select 'Rebuild' to import your entire song catalogs including all songs, sets, imported audio tracks, MIDI events and notes.
-
Select 'Recover' to extract all readable songs from a damaged ‘OnSong Backup’ file.

Audio Backing Tracks
All imported audio backing tracks inlcuded in OnSongs backup file are imported into the Songs app.
Imported audio backing tracks are downloaded to all your macOS/iOS devices automatically when the option 'Sync Imported Backing Tracks' is enabled in the Songs app’s settings (under 'Devices'). (See Importing Audio Tracks to learn more.)

|
Synced audio backing tracks are stored permanently inside the Songs app’s app container for instant playback of backing tracks regardless of internet connectivity. |
Earlier versions of OnSong required the use of iTunes to store backing tracks externally in the device’s music library. These audio files are not included in OnSong’s backup catalog.
|
|
Songs 10.6 (or higher) will automatically locate and re-link these audio files by matching the metadata values provided in OnSong’s backup file (Title, Artist and Album Title). (See Playback Via Apple’s Music App to learn more.) |
OnSong 'Books'
The Songs app uses a single library to manage all songs. Separate 'Books' created in OnSong can be viewed with the help of the Songs app’s library filter:
|
|
Tap/Click on the filter icon in the right corner of the search field and select the name of the 'Book' in the 'Category' submenu. ('Books' are converted into 'Categories' during import.) |
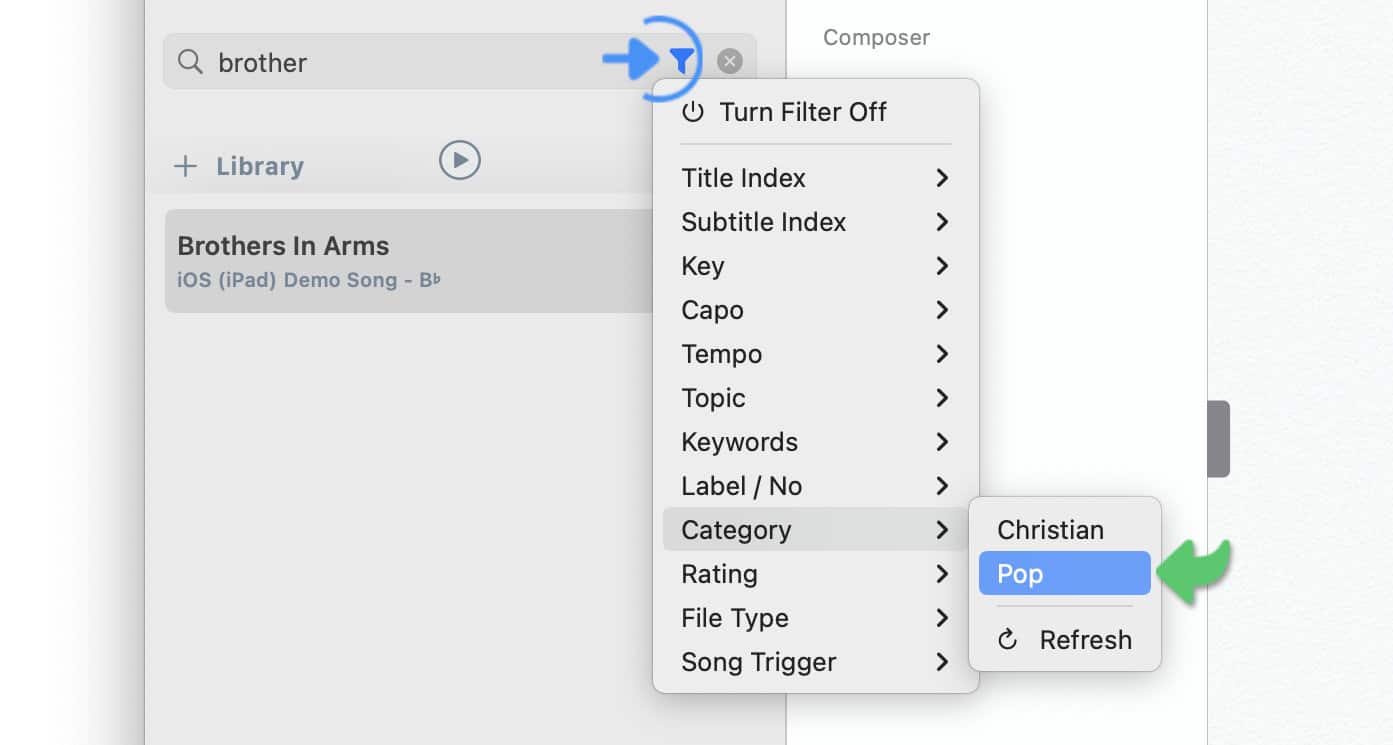
See Library Filter to learn more.
OnSong Theme
The settings of the theme panel determine how your imported OnSong catalog is displayed. (See Themes to learn more.)
|
|
Apply the following settings to create a theme that resembles OnSong’s default layout format: |
-
Select 'AvenirNext' under 'Custom Font',
-
incease the size of the custom font to 135%,
-
set the 'Line Spacing' to -3.0,
-
hide the default paper style 'Background Image'
-
and adjust the size of the title and subtitle to your liking.
Importing Sets
If you do not wish to import your entire song catalog you may also create a set in OnSong to add a collection of songs to your catalog.
This requires the following steps:
Exporting a set from OnSong:
OnSong 2020-2023
-
Select the desired set in the library window.
-
Tap/Click on the 'Share' icon in the upper left corner.
-
Select 'Export' in the pop-up menu.
-
Select 'ChordPro' as the export format.
-
Tap/Click on 'Export' (top right corner).
-
Save the 'Set' file in a directory of your choice (e.g. iCloud Drive).
Importing a set into the Songs app:
|
|
Choose 'Import File' in the Songs app’s import menu and select the exported 'Set' file. |
See Text-Based Files and PDF Files to learn how added songs are transformed.
Importing Folders
If you do not wish to import your entire song catalog you may also use the 'Import Folder' option to add a collection of songs in the OnSong file format to your 'Songs' catalog. The Songs app examines all the compatible files in the selected OnSong folder (including its subfolders) and imports them.
Exporting songs from OnSong:
OnSong Pro
-
Create a new 'Set' in OnSong and add the songs you wish to export.
-
Tap/Click on the share icon in the upper left corner.
-
Select 'Export' in the pop-up list.
-
Select 'OnSong' (or 'ChordPro', or 'PDF') as the export format.
-
Choose 'Files' as the export location (bottom left corner).
-
Tap/Click on 'Export' (top right corner).
-
Choose (or create) a folder in the directory of your choice and export your songs.
Importing songs into the Songs app:
|
|
Choose 'Import Folder' in the Songs app’s import menu and select the folder containing your exported OnSong files. |
Avoid exporting files in the PDF format:
Text-based PDFs have to be transformed into the native Songs file format to:
-
edit the lyrics or the chords in the song editor
-
use custom chord diagrams
-
transpose songs
-
take advantage of themes.
Only import songs into the Songs app in the PDF format if you wish to keep (or add to) your PDF annotations.
Importing OnSong Files Via Double-Click
On macOS you may also import OnSong files into your 'Songs' catalog with a double-click. In order to do so you specify the opening application (Songs) in the 'Get Info' window of macOS:
-
Select an OnSong file (i.e. a file with an '.onsong' extension) with a single click.
-
Hold the command key while pressing the 'i' key to open the 'Get Info' window.
-
Click on the pop-up menu under 'Open with:'.
-
Select 'Songs' from the list.
-
Click on the 'Change All..' button to apply this setting to all OnSong files.
After this setup you double-click on an OnSong file to automatically import it into the Songs app.
* The Songs app is not affiliated with or endorsed by OnSong, Stage Traxx 3, Songsheet Pro, SongbookPro or Ultimate Guitar. Any use of third party trademarks, logos, brand names and products is only referential.